|
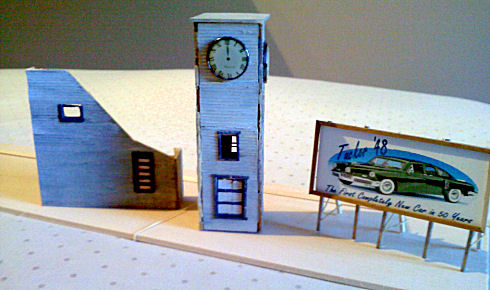
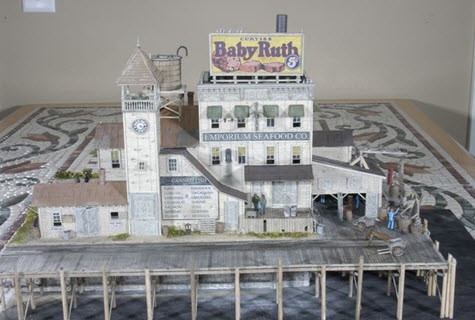
Without plans calling out specific dimensions, these three ancillary builds took a little extra. I wanted an unusal billboard so I picked the 1948 Tucker (initally called the Tucker Torpedo.
Of the 51 built, 47 have survived.
Clocktower
I am sure the three clocks came with the kit but I had to find mine, not normal scratch building supplies.
I found them at AC Moore in packets of three trinkets, 1 clockface each. $3.99 a packet. I have six other trinkets if you are interestged.
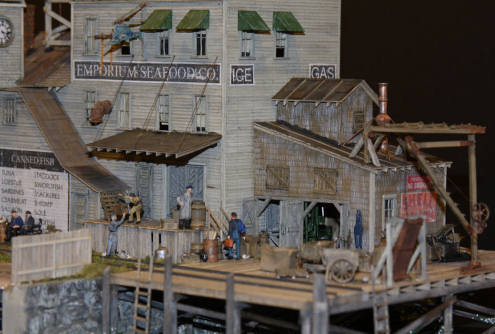
Adding A Splash of Color
Emporium Seafood Project After One Month
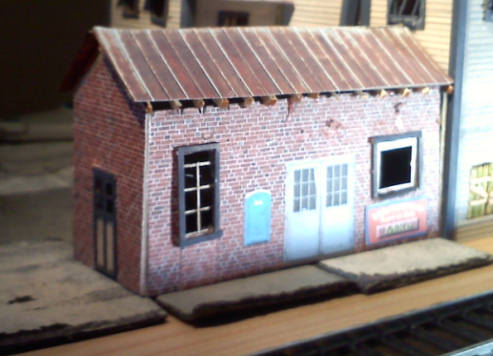
I have learned several new techniques which I have put into this scratch build in hopes of making it better and getting it done quicker.
For instance, the Guard House (above) is normally clapboard like the rest of the struture. I wanted a little more color so I opted for brick. Both the brick walls and the metal roof camem from Model Builder and were printed out on the spot.
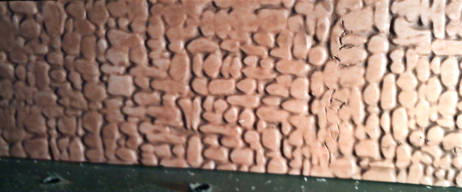
Another new (at least for me) sub-project was this polymer casting of a random stone retaining wall. The flatness (caused by rolling it to a 1/8th-inch thickness will nt be as obvious behind the full length wharf with boats tied up in front.
It is a lot less expensive than buying cast rock work and as an added bonus is flexible enough to follow a curve.
The pilings, their bracing, the sub-structure of the deck and the wharf surface material take a lot of stripwood which needs to be weathered. My chosen method is I-A usually with multtiple applications. There had to be a better way then brushing.
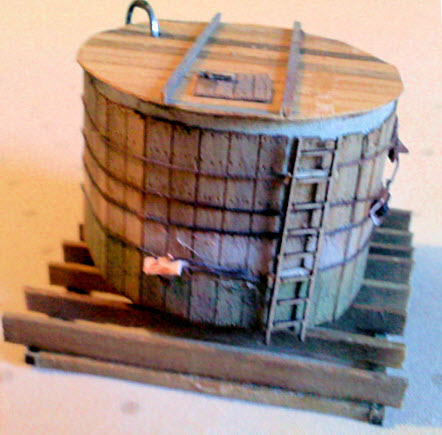
 Meet The Weathering Tubes
They measure 7.5 inches tall and about 1.25" in diameter. They are just what I was looking for. I found them at AC Moore. In their regular life they are sand art bottles used in wedding unity ceremonies. Selling as a unity set, they run $125 for a set of two with vase.
Mine were a buck apiece with the vase an extra $2. I have $5 in the whole rig. I use two for Alcohnol-India Ink mixes (one light, one dark and the third is the vinegar/steel wool.
Slicker than snot on a doorknob
I take a handful of sticks, dunk them in the tubes for 10-15 seconds, pull them out and dunk the other ends Let dry and repeat depending on the amount of weathering desired.
|

 I use craft colors to get my basic building colors and rely on powders for the aging process. Once I have laid down the wall color I insert the laser-cut wooden windows and doors, pre-painting the trim before adding the window and door jams.